Headroom Before Hype: Auditing Your Bristol Loft’s True Usable Height
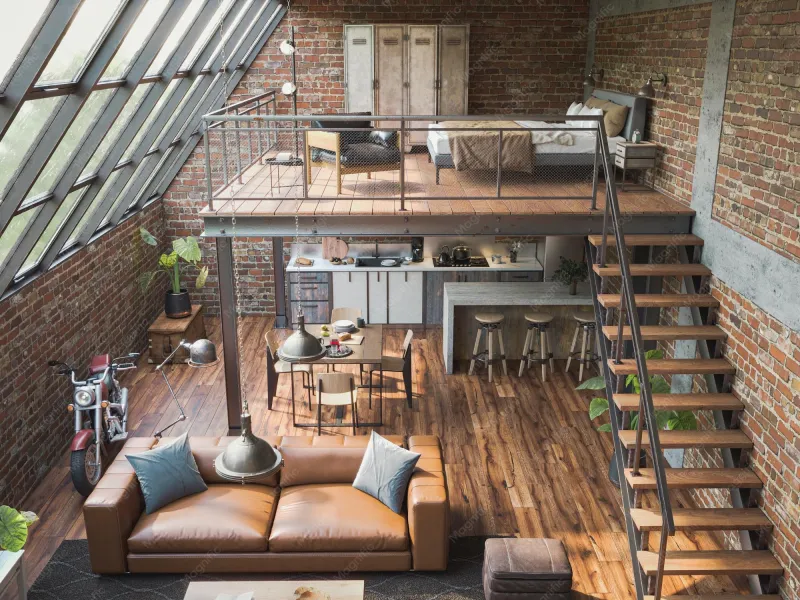
Photo: loft conversion tape measure measuring roof rafters headroom UK terraced house, via img.freepik.com
Most loft conversations in Bristol begin with the same number: ridge height. An agent, a neighbour or a passing builder says there’s “plenty up there”, and suddenly a spare bedroom feels inevitable. The trouble is that ridge height is a headline figure, not a working one. What matters is the height you’ll actually feel when you stand in the finished room — and in Bristol’s terraces, that number can shrink faster than you expect.
In 2026, with design fees and structural quotes still carrying real weight, it’s worth spending an hour with a tape measure before anyone puts pen to paper. A loft that looks viable from the landing can turn out to be a storage job once floor build-up, beams, insulation and stair headroom are accounted for. This is the audit that should happen before the drawings, not after.
The number that isn’t on the estate agent’s sheet
Headline ridge height is measured from somewhere near the top of the existing ceiling structure to the underside of the roof ridge. That is useful for understanding the roof’s overall shape, but it is not the finished room height. A loft conversion adds a floor structure, a ceiling finish, insulation, ventilation, services and usually at least one structural beam. Each of those eats into the space between the old ceiling joists and the roof covering.
On paper, a Bristol terrace might offer 2.7m from joist to ridge. By the time you’ve allowed for a new floor, a steel beam, insulated rafters and a plastered ceiling, the usable centre height might be closer to 2.2m — and at the edges, where you actually walk, it could be lower still. That difference is why two apparently similar houses on the same street can produce very different lofts.
The deductions that quietly eat your headroom
The first big deduction is the floor. Many Bristol lofts are built over existing ceiling joists that were never designed to carry a habitable room. A designer may specify new deeper joists, or strengthening to the existing ones, then add chipboard, acoustic layers, services and a ceiling finish below. A realistic floor build-up can easily be 150mm to 250mm, sometimes more if drainage or ductwork has to cross the space.
The second is structure. Steel beams are common in loft conversions, particularly where the roof structure needs support or where a dormer or rear addition changes the load path. A beam might be 200mm deep, 250mm deep or more, and it often sits below the ceiling line or creates a downstand that you notice exactly where you wanted to stand. Timber beams can be shallower, but they still take up room.
The third is insulation and ventilation. A warm roof build-up needs insulation above or between the rafters, plus a ventilation gap. A common detail is a 50mm air gap and 100mm to 150mm of insulation, which may mean deepening the rafters. If the roof is being insulated at ceiling level instead, you gain some height in the room but lose usable space elsewhere and create a cold roof zone. Either way, the section drawing matters more than the plan.
The fourth is the ceiling finish and services. Plasterboard and skim are modest on their own — around 15mm — but downlights, extract ducting and cabling can force a lowered ceiling in places. The fifth is stair headroom. Building regulations expect a sensible vertical clearance over the stair, often around 2m, and the point where the stair arrives in the loft is frequently the tightest part of the whole design.
A room-by-room audit you can do with a tape
You don’t need to be a surveyor to get a useful early read. Start by clearing the loft floor enough to see the ceiling joists and the roof structure. Identify which way the joists run and where the ridge, purlins and any diagonal braces sit. Then measure vertically from the top of the existing ceiling joists — not from the plasterboard below — to the underside of the ridge or rafter at the highest point.
Next, take the same measurement at the mid-slope of the roof and at roughly 1.5m in from the eaves on both sides. That last figure is the one people forget. A loft can have a generous centre height but a narrow standing zone because the roof slopes away sharply. Mark a line at 1.9m above the proposed finished floor across the width of the space. If that line only exists in a narrow strip down the middle, you’re designing a room with limited usable floor area.
Repeat the exercise at the proposed stair opening. Measure from the top of the stair structure to the underside of the roof or any beam above it. Then subtract your assumed floor build-up from every reading. A rough allowance of 200mm is better than nothing, but ask your designer for the actual build-up they intend to use. Finally, sketch the standing zone on a simple plan. You’ll quickly see whether you have a bedroom, a study or a very well-insulated cupboard.
Where Bristol terraces surprise you
Bristol’s housing stock is not uniform. A Victorian terrace in Easton, a 1930s semi in Horfield and a hillside property in Totterdown can all have different roof pitches, purlin positions and ridge heights. Even on the same street, later re-roofing, chimneys removed or rebuilt, and previous loft alterations can change what you’re working with. A neighbour’s conversion is useful evidence, but it is not proof that your roof will behave the same way.
Hipped roofs, which are common in some Bristol suburbs, reduce the full-height central zone because the roof slopes in from the side as well as the front and back. Long terraces may have party wall issues that affect where beams can bear, which in turn affects beam depth. Conservation areas add another layer, though the headroom maths comes first: if the space doesn’t work, permission is academic.
Questions to put to your designer or structural engineer
When you review a loft proposal, don’t just look at the pretty plan. Ask for a section drawing with every layer labelled, and put these questions in writing:
- What finished floor-to-ceiling height are you assuming at the centre of the room and at 1.5m in from the eaves?
- What floor build-up thickness is included, and does it allow for acoustic insulation and services?
- What is the maximum depth of any steel or timber beam, and where will it sit relative to the finished ceiling?
- How are you insulating and ventilating the roof, and how much depth does that add?
- What is the measured headroom over the stair, and does it meet building regulations?
- Have you measured from the top of the existing ceiling joists or from the plasterboard below?
- What is excluded from the drawing package, and what happens if building control asks for a deeper insulation build-up?
- Can you show the standing zone at 1.9m on the plan, not just the room outline?
When the numbers say stop
If the usable headroom under the beams is below about 2.1m across a meaningful part of the floor, a standard bedroom becomes a hard sell. You may still create a useful storage room, a hobby space or a short-term guest room, but the value uplift will be different. Raising the roof is possible in some circumstances, but it is expensive, often needs planning permission and can be sensitive in conservation areas. Lowering the floor is rarely straightforward in a loft.
The point of the audit is not to kill ambitious plans. It is to make sure the ambition is aimed at the right house. Before you spend money on measured drawings, structural calculations and planning submissions, spend an hour with a tape measure, a pencil and a realistic idea of what “usable” means. In Bristol’s loft market, the room you can actually stand up in is the one worth designing.